
 |
 |
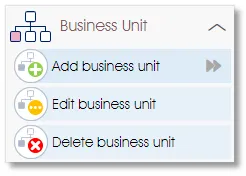
The Business Unit toolbox group in the side panel will allow you to add, edit or delete a business unit to or from the employee list.
 |
Add – or drag and drop – a new business unit to the employee list |
A new business unit can be added in one of the following two ways:
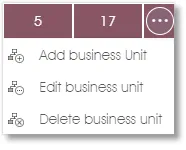
- Click to add – select a business unit or an employee record with the mouse (it should be highlighted in burgundy), and then click on the Add business unit toolbox function in the side panel or the dropdown toolbox; a new unit will be added to either the business unit that was selected, or to the business unit under which the selected employee falls.
- Drag and drop – click on the Add business unit function and drag it to the desired location in the employee list.
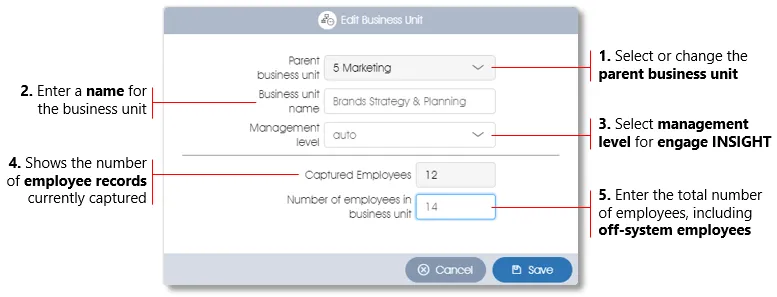
A dialogue window where the new business unit’s details can be captured will be displayed:
 |
Edit the selected business unit |
Select a business unit with your mouse (it should be highlighted in burgundy), and then click on the Edit business unit toolbox function in the side panel or in the toolbox dropdown menu. Alternatively, just double-click on the business unit to edit it. A dialogue window with the business unit’s details will be displayed (see Add business unit above for more).
 |
Delete the selected business unit |
This function will allow you to delete one or more business units. Please note that no business unit, not even a newly or erroneously added one, can be deleted if there are any open surveys. Select a business unit with your mouse (it should be highlighted in burgundy) – all child sub-units will be automatically selected. Alternatively, select an arbitrary combination of business units and employees by ticking their check boxes. Once you have selected the business unit(s), click on the Delete business unit toolbox function in the side panel or in the toolbox dropdown menu.
A dialogue window with a warning message will be displayed, asking you to confirm that you do want to delete the selected business unit(s). Please note that all sub-units (children business units) and related employee records will also be deleted.
| For more information, click on a sub-menu item at the top of the page⇑ or in the right margin⇒ |